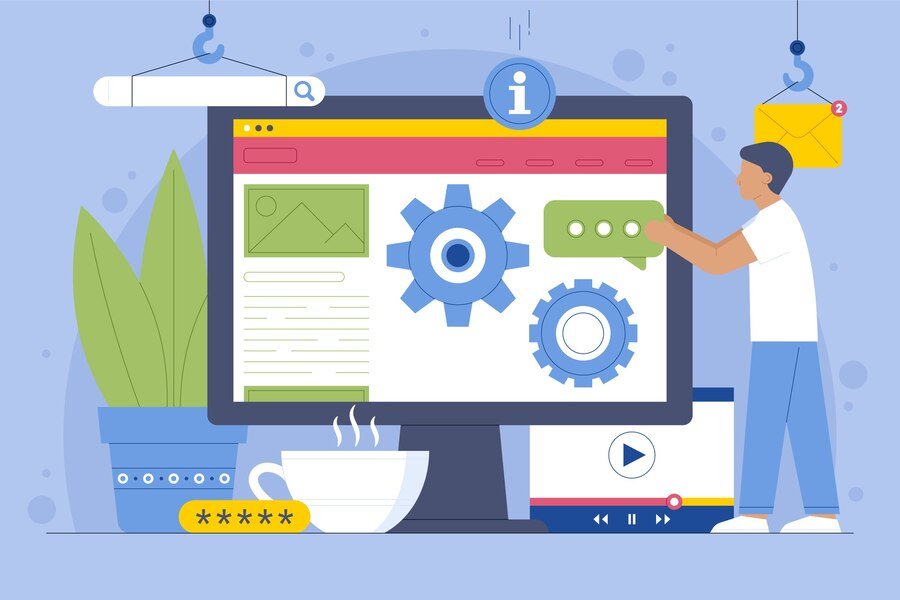
Migrating your website to WordPress without downtime requires careful planning and execution to ensure a smooth transition without disrupting user access. Here’s a step-by-step guide to help you migrate your website to WordPress seamlessly:
Step 1: Plan Your Migration Strategy
- Backup Your Existing Website:
- Before making any changes, ensure you have a complete backup of your current website files and database. This will serve as a safety net in case anything goes wrong during the migration process.
- Choose a Suitable WordPress Hosting Provider:
- Select a reliable WordPress hosting provider that meets your website’s requirements in terms of performance, scalability, and support.
- Set Up WordPress Installation:
- Install WordPress on your new hosting environment. Many hosting providers offer one-click WordPress installations, making this step straightforward.
Step 2: Set Up a Staging Environment
- Create a Staging Subdomain or Directory:
- Set up a staging environment either as a subdomain (e.g., staging.yourwebsite.com) or a subdirectory (e.g., yourwebsite.com/staging/).
- Transfer Your Existing Website to Staging:
- Copy all your website files (HTML, CSS, JavaScript, images, etc.) to the staging environment. Export your existing database and import it into the staging database.
Step 3: Customize WordPress
- Choose a Theme:
- Select and install a WordPress theme that matches or closely resembles your current website design. Customize the theme to maintain brand consistency.
- Install Necessary Plugins:
- Install plugins that replicate the functionality of your existing website features, such as contact forms, SEO tools, caching plugins, etc.
Step 4: Perform Content Migration
- Content Migration:
- Copy and paste your existing content (pages, posts, images, etc.) from the staging environment to your WordPress installation. Ensure formatting and media are transferred accurately.
- Set Up Permalinks:
- Configure WordPress permalinks structure to match your old website’s URLs. This helps maintain SEO and ensures existing links continue to work.
Step 5: Test and Verify
- Functionality Testing:
- Thoroughly test all website functionalities (forms, navigation, media files, plugins) on the staging site to ensure everything works as expected.
- Cross-Browser and Device Compatibility:
- Check your website’s compatibility across different browsers (Chrome, Firefox, Safari, etc.) and devices (desktops, tablets, smartphones).
Step 6: Final Checks and DNS Switch
- Final Review:
- Review the staging site for any issues or inconsistencies. Make necessary adjustments and fixes before proceeding.
- Schedule DNS Switch:
- Coordinate with your hosting provider to schedule the DNS switch. This involves pointing your domain name to the new WordPress hosting environment.
Step 7: Go Live
- DNS Propagation:
- After updating DNS settings, allow time for DNS propagation (typically 24-48 hours) to ensure users are directed to the new WordPress site.
- Monitor and Address Issues:
- Monitor your website closely after going live. Address any post-migration issues promptly to minimize downtime and maintain user experience.
Step 8: Post-Migration Optimization
- SEO Optimization:
- Update SEO settings and meta tags using SEO plugins like Yoast SEO or Rank Math to maintain or improve search engine rankings.
- Performance Optimization:
- Optimize website performance by leveraging caching plugins, optimizing images, and implementing other speed enhancement techniques.
Step 9: Communicate and Celebrate
- Notify Stakeholders:
- Inform stakeholders, users, and subscribers about the migration and provide any necessary instructions or updates.
- Celebrate Success:
- Celebrate the successful migration of your website to WordPress! Reflect on the process and learn from any challenges encountered for future improvements.
By following these steps methodically and ensuring thorough testing at each stage, you can migrate your website to WordPress without downtime and minimize any potential disruptions to your online presence. Remember to maintain communication with your team and users throughout the process to manage expectations and ensure a smooth transition.


